WSL (Training & CLI Inference)
WSL stands for Windows Subsystem for Linux. It is required for training because training is performed through the TensorFlow package. TensorFlow can only interface with the GPU on a Windows computer using the WSL virtual machine as an interface (as of Aug 2025). Thus, Python packages and dependencies must be installed on WSL for training.
The WSL interface can also be used for inference. However, to run inference, CUDA, cuDNN, and TensorRT will have to be installed in WSL separately from any native Windows installations. While inference is possible thorugh WSL, this tutorial is designed for training; therefore, it won’t include installation instructions for these dependencies in WSL for now.
⚠️ Many versions of Windows can install WSL, but only Windows 11 and up have WSL capable of machine learning. Be se sure WSL is being installed on a Windows 11 machine before proceeding.
1. Install WSL (Ubuntu 24.04)
a. Open PowerShell
Hit the Windows Button or visit the Start Menu and type “PowerShell”.
b. Install
List possible WSL distributions and verify that Ubuntu-24.04 is present:
wsl --list --online
Next, install the desired distribution:
wsl --install --distribution Ubuntu-24.04
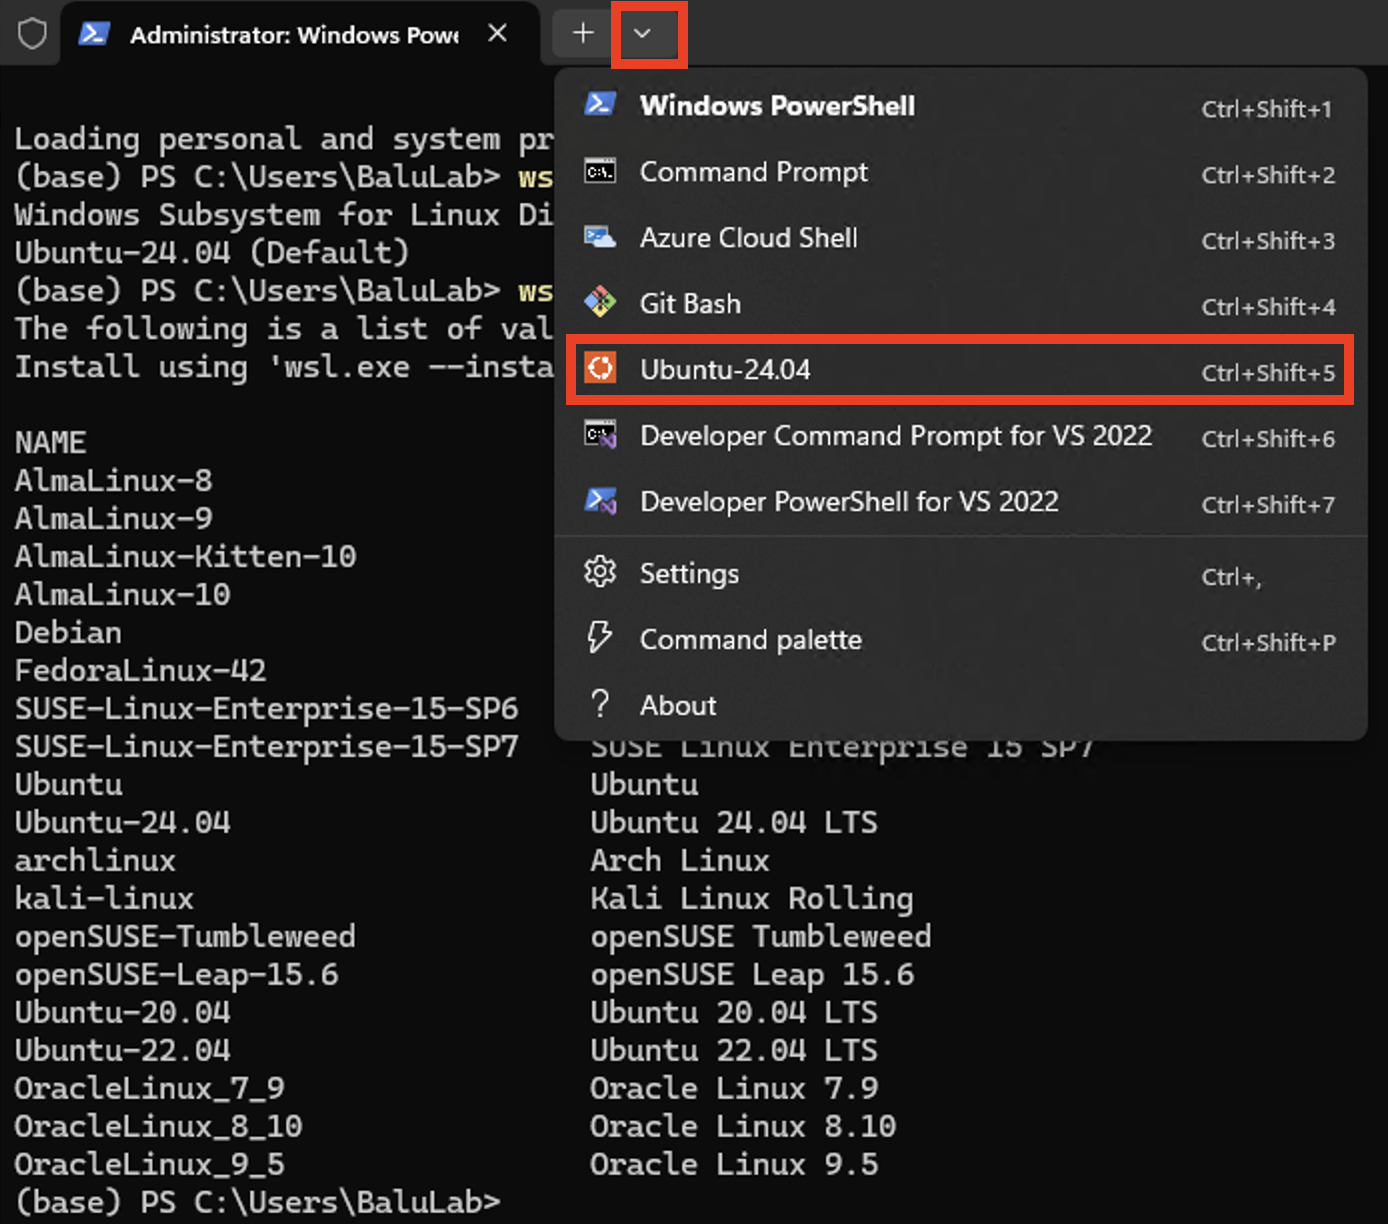
c. Open WSL
Close and re-open the PowerShell prompt. Then, open WSL according to the image below:
⚠️ Occasionally, Windows machines have an important feature–“Virtualization”–disabled by default. When disabled, starting WSL is impossible. Follow this tutorial to enable virtualization on any Windows machine through BIOS.
2. Downloading Source Code
a. Visit GitHub
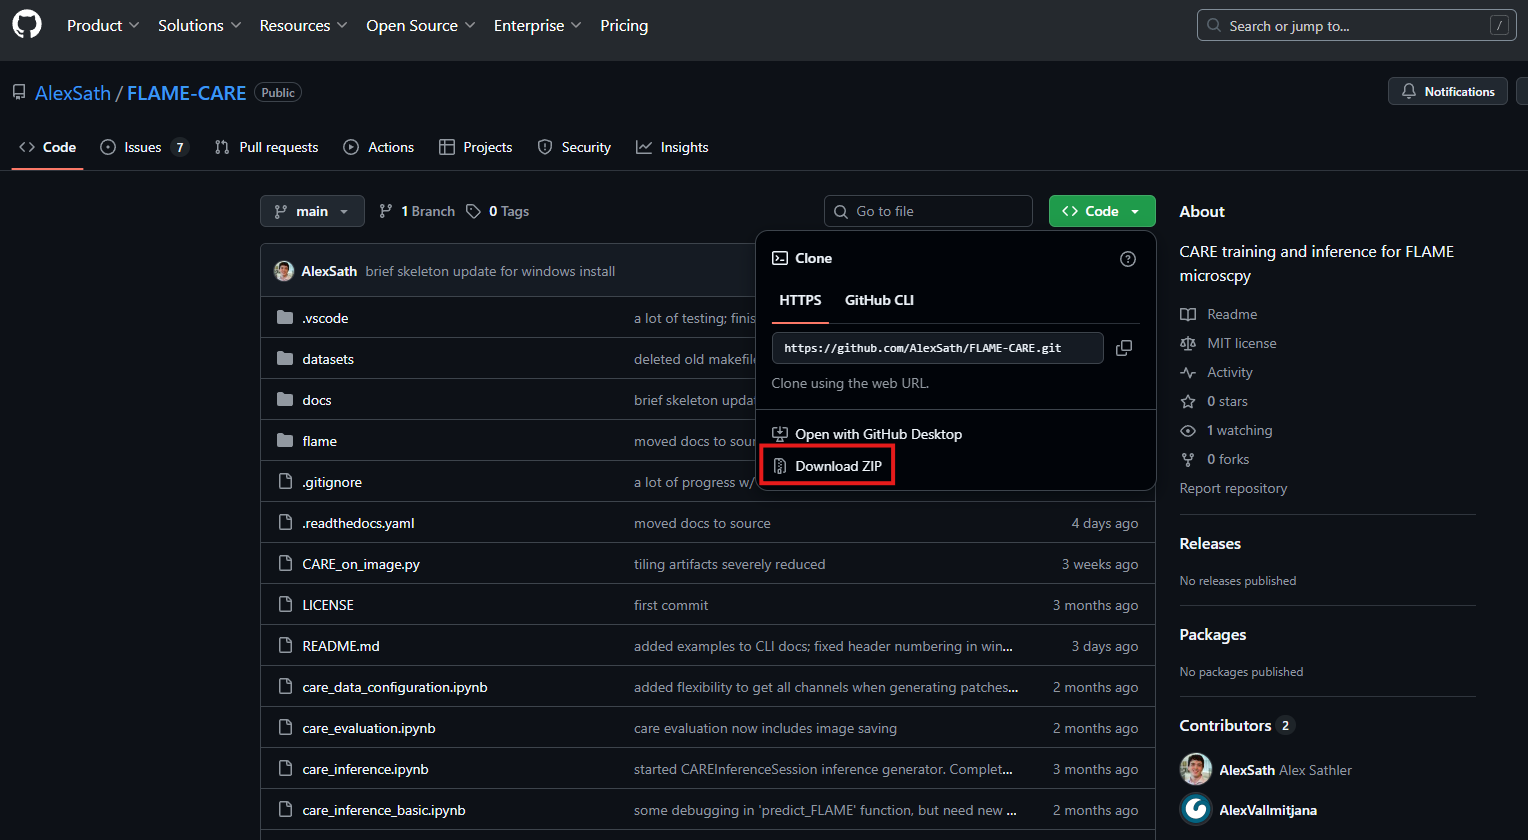
Either using GitHub CLI or the GitHub ZIP downloader, download the source code from the FLAME-CARE repository.
⚠️ It is recommended that the source code be installed to the Windows filesystem (File Explorer on Windows machine) as opposed to the WSL filesystem. This way both Windows and WSL will have easy access to the code.
Below is an image of how to download the ZIP:
If issues are still experienced when downloading the source code, visit the Windows Install Page for more information.
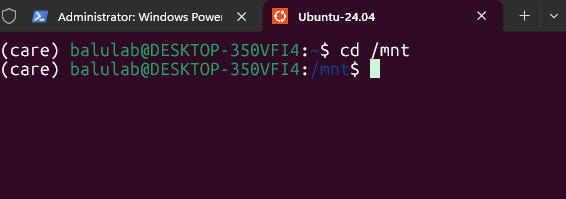
b. Access Windows Filesystem through mnt
If following the instructions, the source code should be installed on the Windows Filesystem. To access it in WSL,
simply use the “Mount” path found at /mnt. Example:
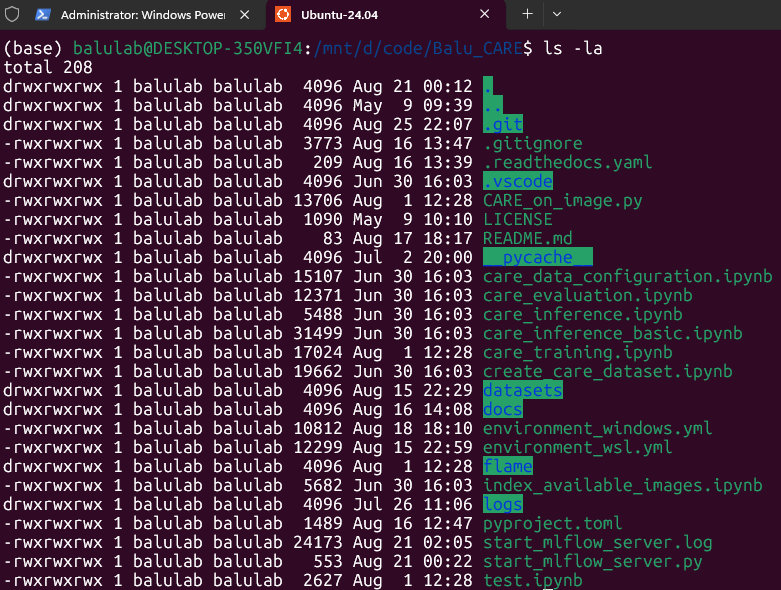
cd (Change Directory) and ls (List Files) can then be used to navigate to the folder where the source
code was installed. Once the source directory is reached, files matching the GitHub repository should be seen:
3. Create CARE Conda environment
a. Download miniconda
Visit your home directory:
cd ~
Then, download the installer script:
wget https://repo.anaconda.com/miniconda/Miniconda3-latest-Linux-x86_64.sh
Finally, run the script:
bash ~/Miniconda3-latest-Linux-x86_64.sh
Finally, restart your shell.
⚠️ Conda will ask you a variety of questions during the installation. Defualts are fine, but be sure to selected “yes” when prompted whether miniconda should alter your shell configuration. This will make initialization easier in subsequent steps.
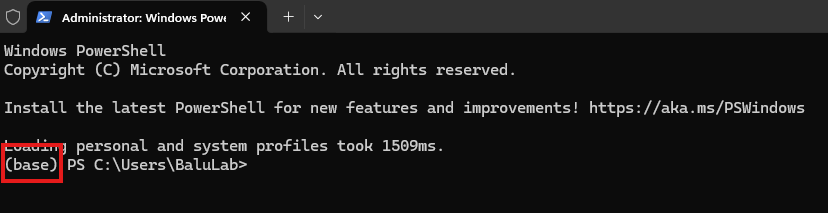
You should see (base) in your shell after restarting:
b. Populate the CARE enviornment
Visit the folder where the FLAME-CARE files can be found. Revisit Step 2b for more information.
Within that folder, install the conda environment (this will take 10-15 minutes):
conda env create -f ./environment_wsl.yml
Once finished, activate the conda environment:
conda activate care
Resulting in the (care) prefix in your shell.
4. VSCode (For Jupyter-based Training)
a. Download VSCode
On your Windows web browser, download VSCode from the website.
Once installed, open the application.
b. Add the WSL extention
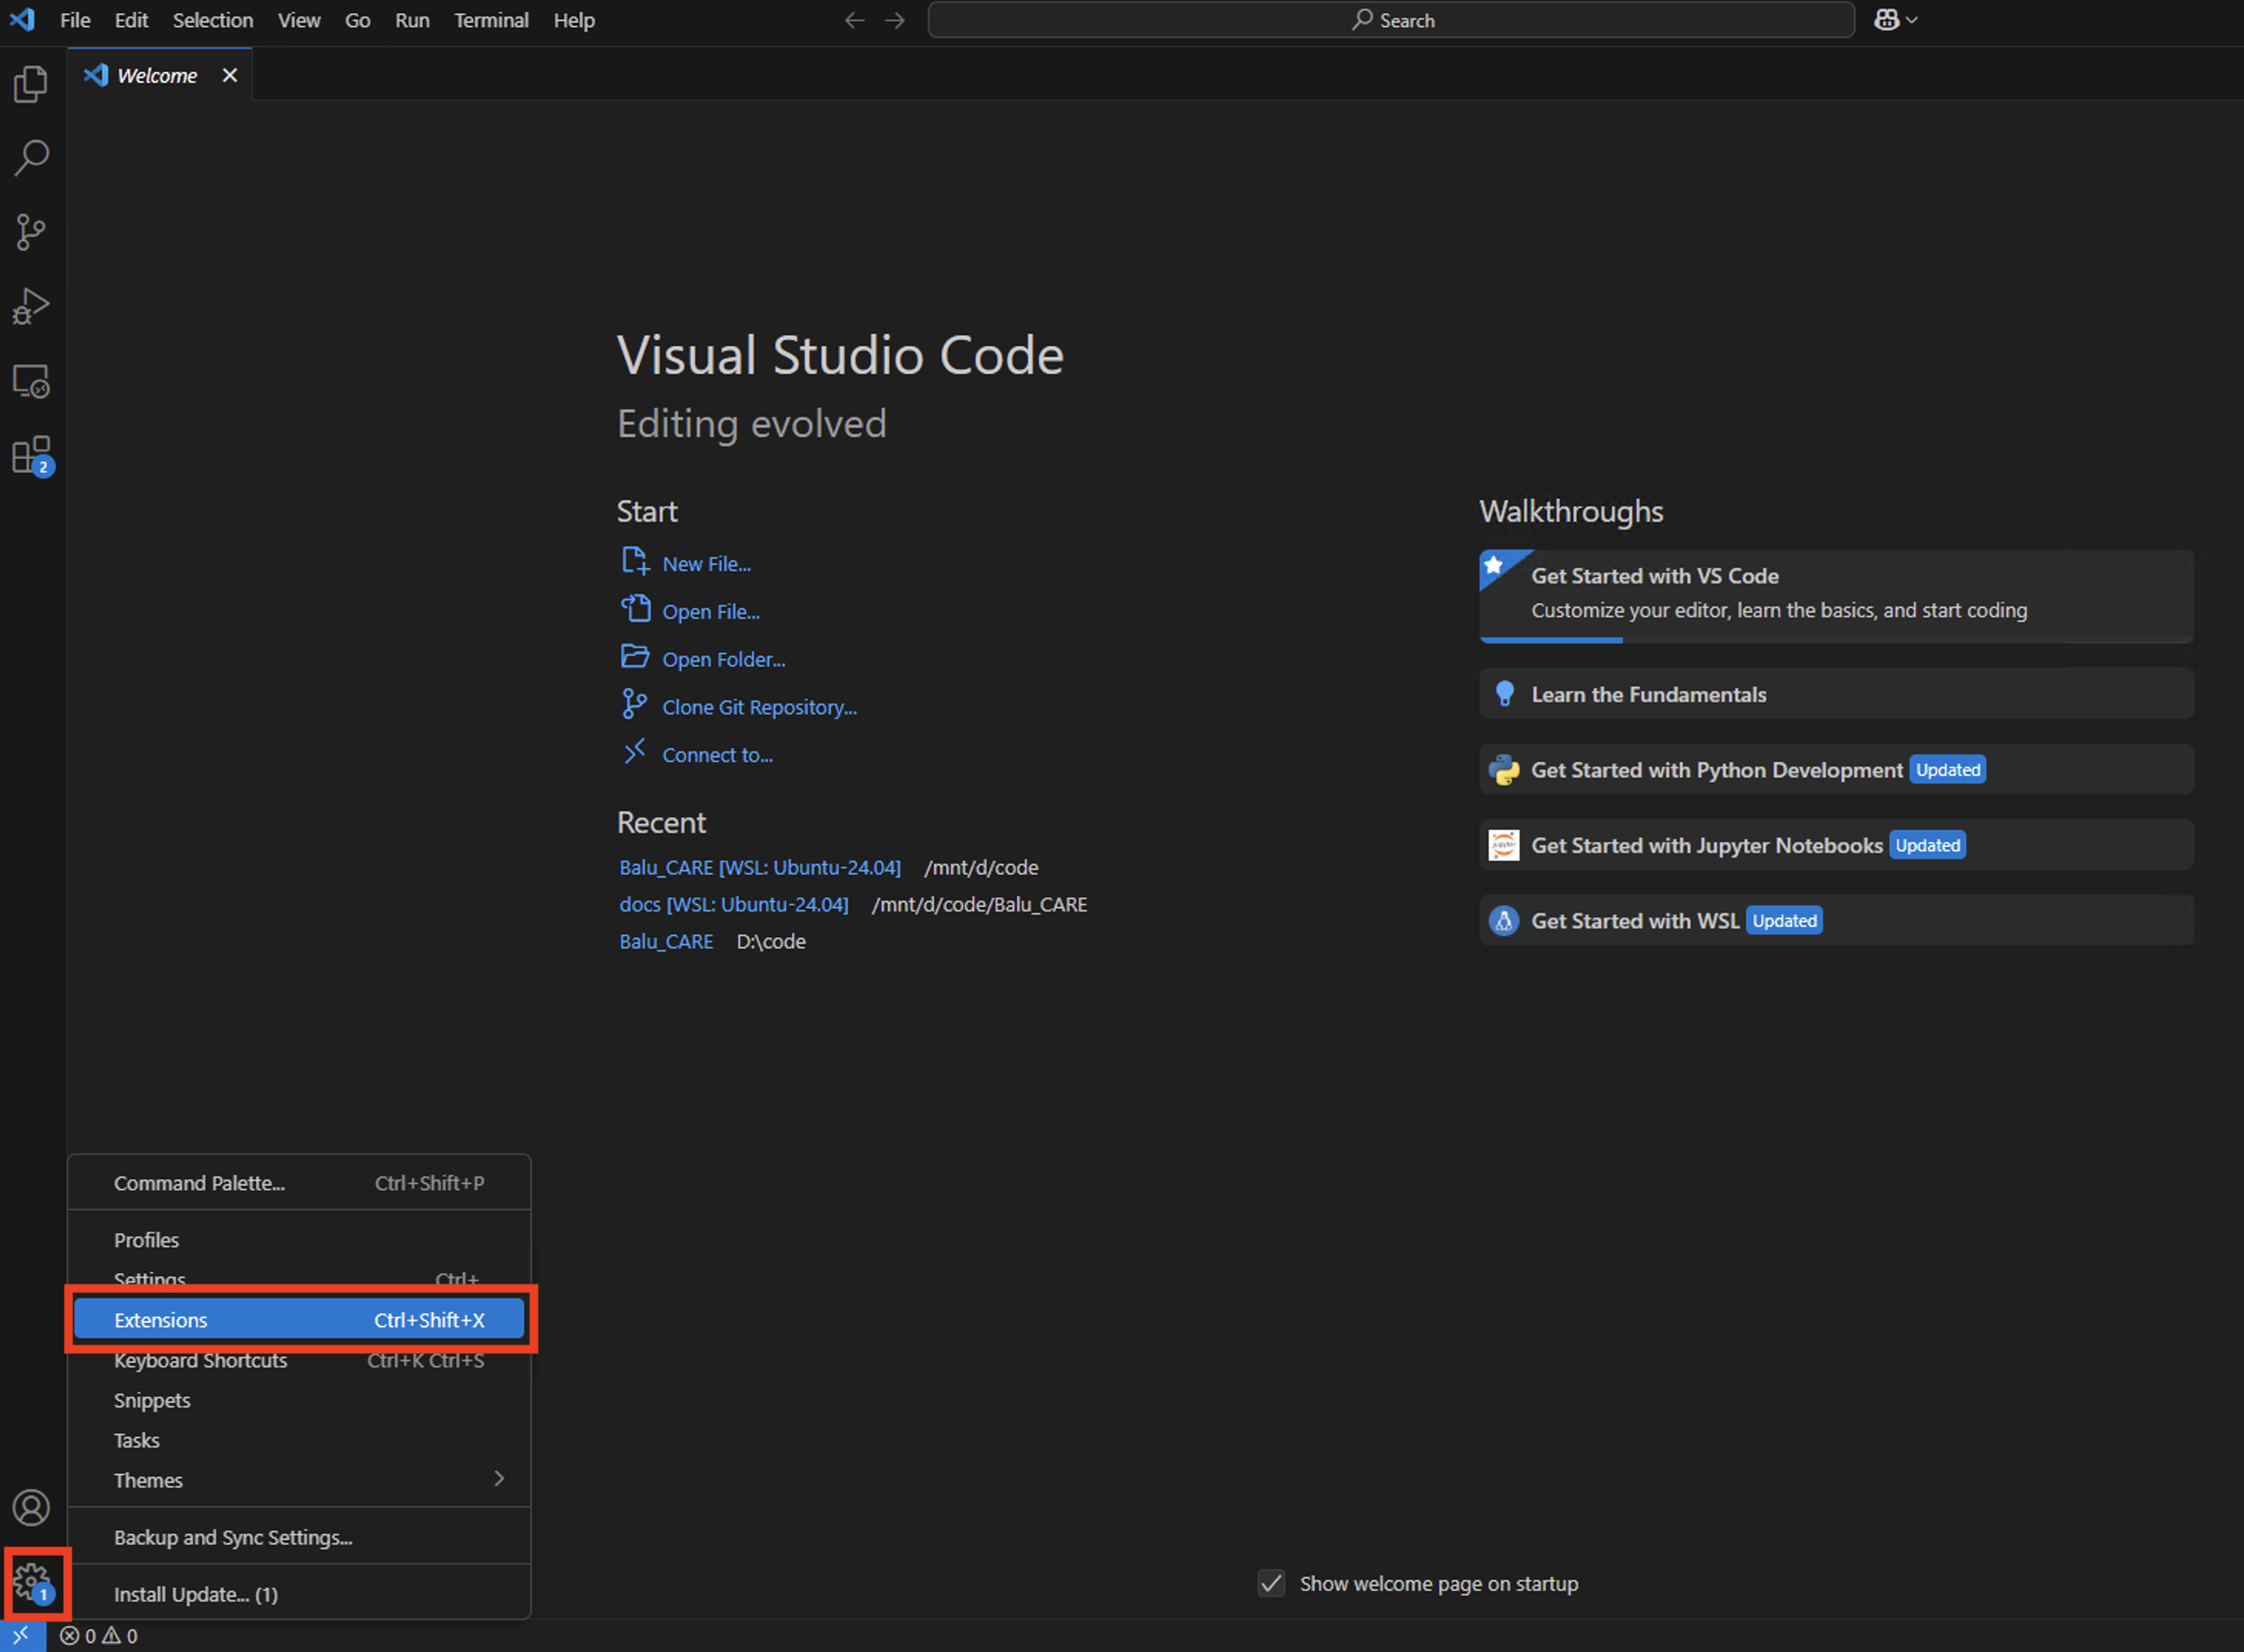
In the VSCode settings, hit extensions:
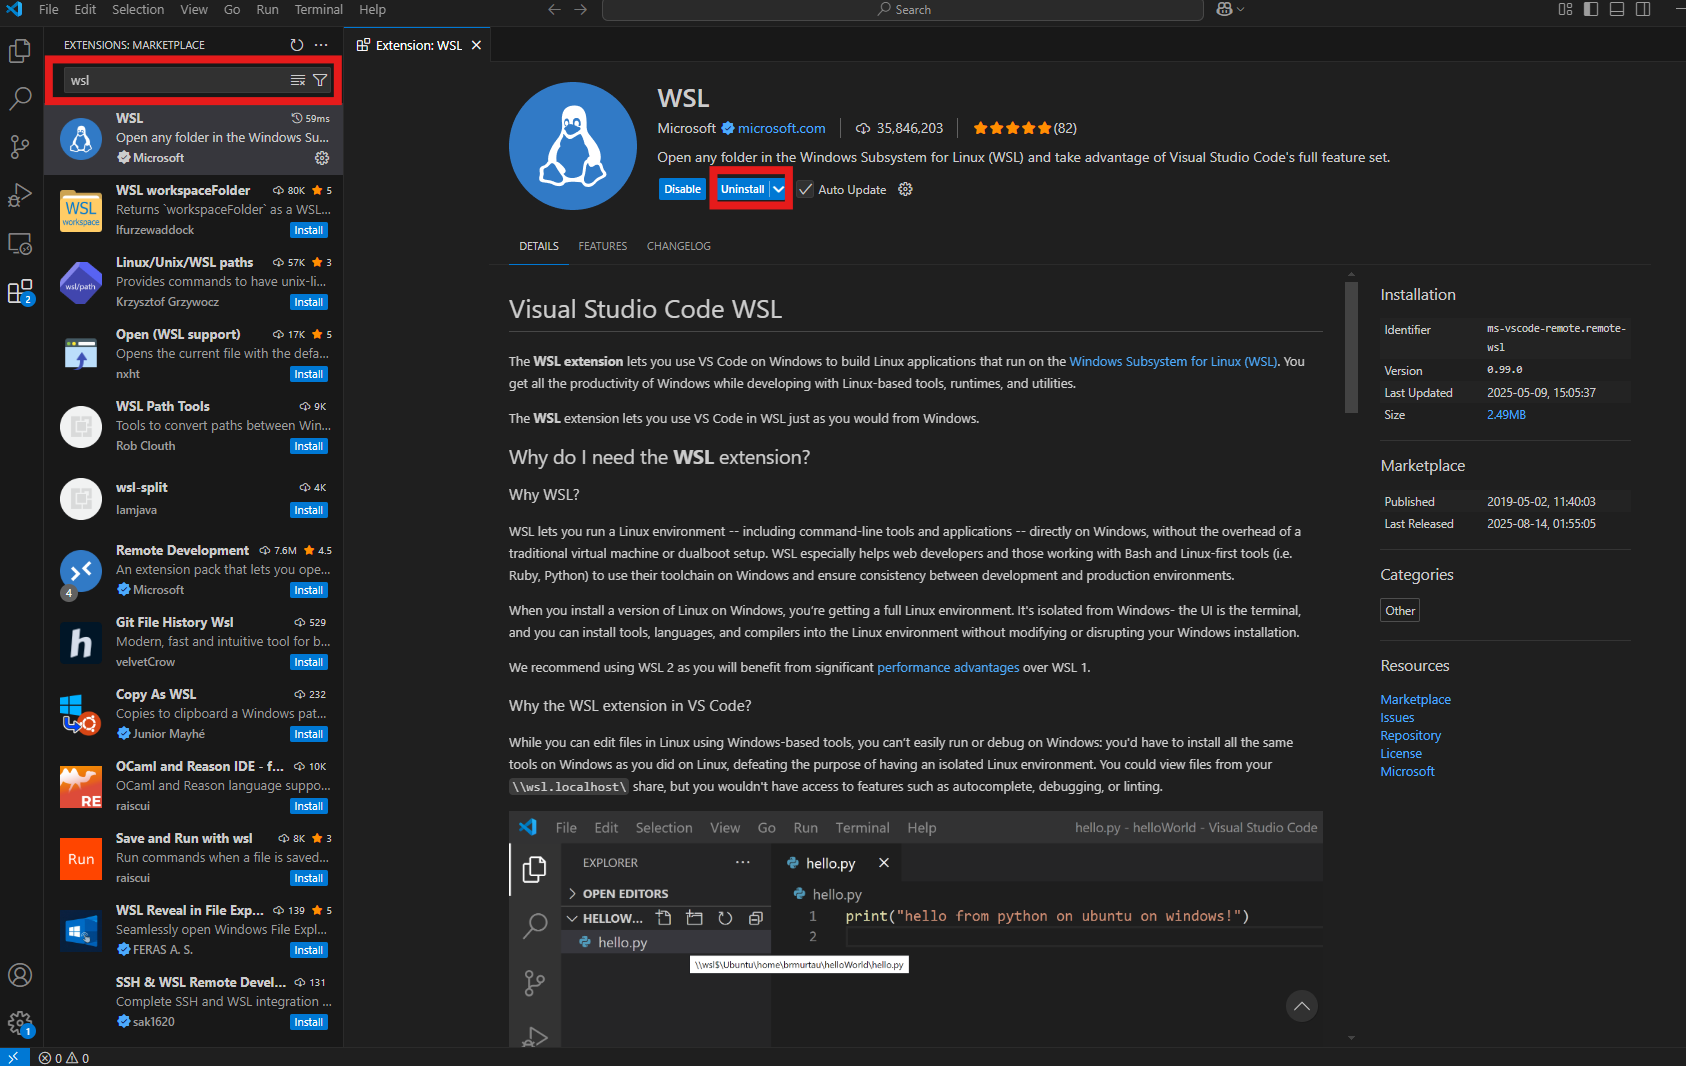
Once on the extensions screen, type wsl in the search bar and click on the WSL extension. Hit the blue install
button and wait until it switches to uninstall (indicating a successful install):
- Repeat for the following extensions:
Python
Jupyter
c. Open VSCode in WSL
Finally, in your WSL shell, re-navigate to the directory with FLAME-CARE code (see step 2b).
Then, open VSCode through the CLI:
code .
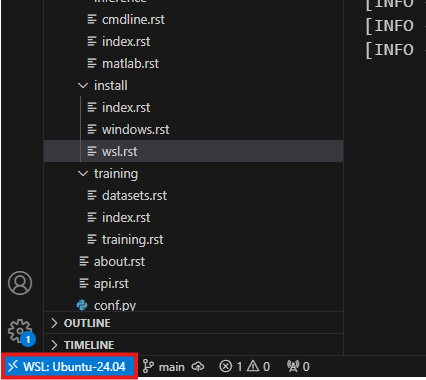
This should open a new Window of VSCode that is connected to WSL: